
How to Preserve Handwriting, Letters, Recipes, and Cards in a Memory Book
Preserve handwriting and fragile paper keepsakes by digitizing safely, transcribing uncertainty, storing originals separately, and reviewing privacy and permission.
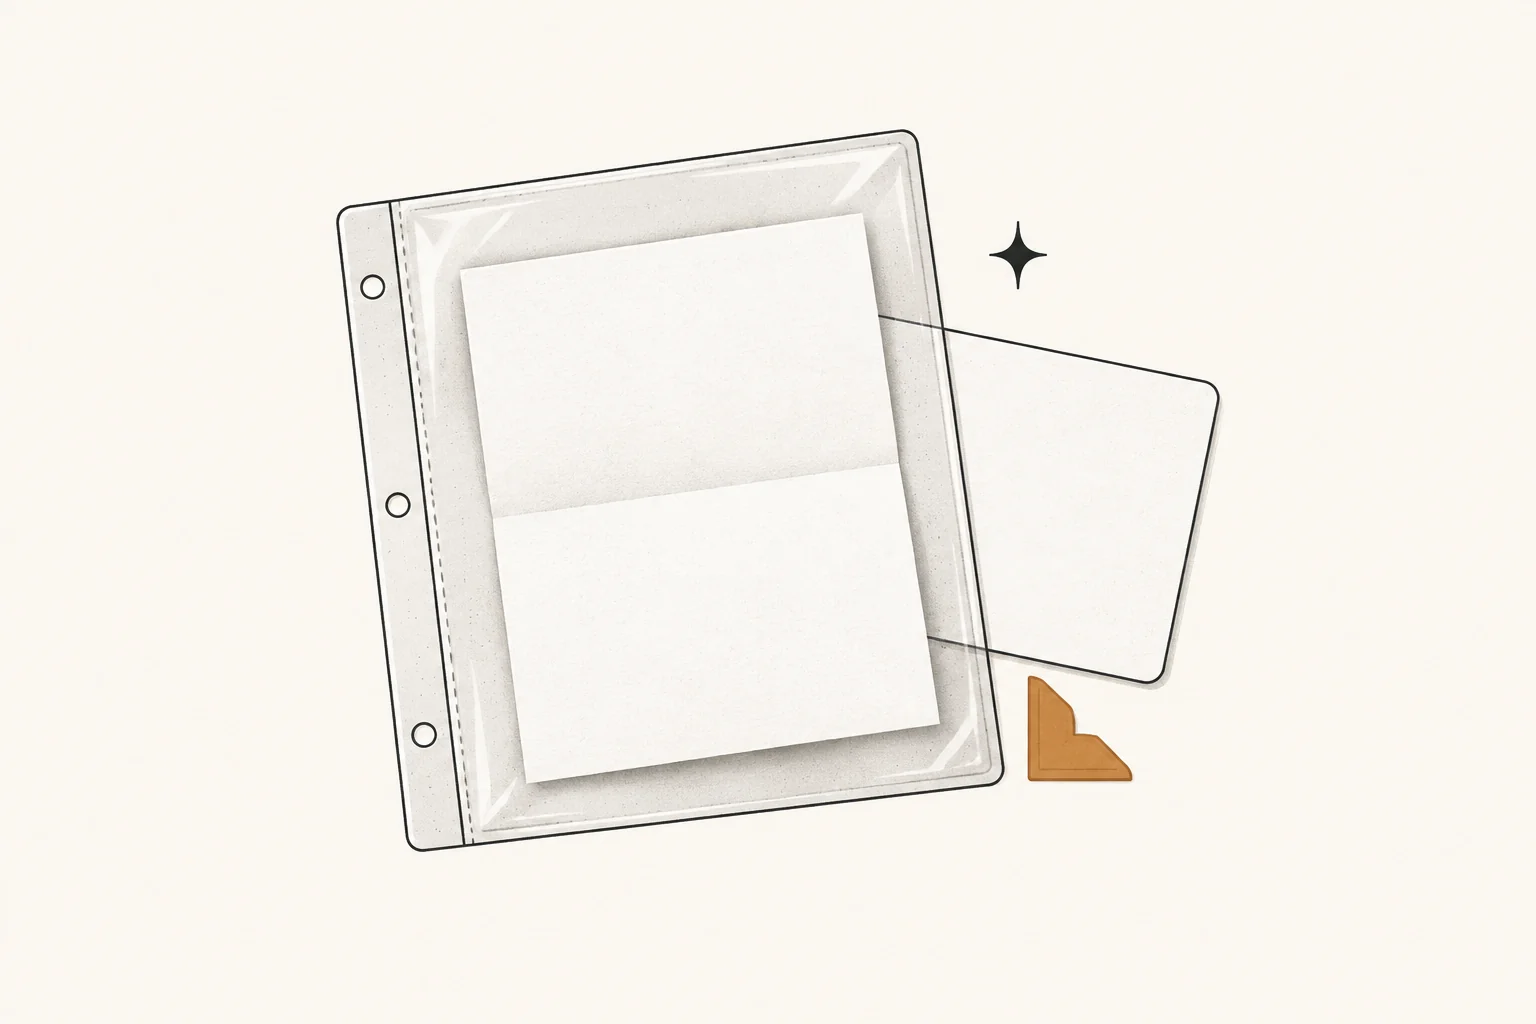
The safest way to preserve handwriting in a memory book is usually to digitize the item, use a copy in the book, and store the original separately in a suitable enclosure. That approach lets readers see the writing without repeatedly exposing a unique letter, recipe, card, or note to light, adhesives, page turning, and loss.
The goal is not to make an item look new. It is to preserve the physical original, its readable content, and its context: who wrote it, who received it, when it was used, and whether it may be shared.
Difficulty: Beginner for stable items; specialist help for stuck, moldy, brittle, wet, charred, or flaking material
Time: 15–30 minutes per stable item
You will need: a clean work surface, a camera or flatbed scanner suited to the item, a source record, and a separate storage enclosure
Choose the right treatment for the item
| Item condition or purpose | Safer default |
|---|---|
| Stable, flat single sheet | Scan both sides; use a copy in the book |
| Folded letter that opens easily | Photograph or scan each face in reading order; store folded only as condition allows |
| Bound diary or recipe book | Photograph with support; do not force flat on a scanner |
| Brittle, torn, stuck, moldy, or flaking | Stop handling; isolate if appropriate and seek professional guidance |
| Private or sensitive content | Preserve privately; excerpt, redact, summarize, or omit from the shared book |
| Original needed for display | Prefer a facsimile; limit original exposure and use preservation framing guidance |
The National Archives family-archives guidance begins with prevention: careful handling, suitable storage, and digitization that does not damage the original. The site’s keepsake-selection guide can help decide which items belong in the book and which should remain only in the source archive.
If a paper item includes a photograph or will sit beside one, review the site’s photograph-preservation guide as well; photographic surfaces and mixed-material albums can need different handling choices.
Step 1: Record the item before changing its order
Assign an item ID and photograph the object as found. Include its envelope, surrounding album page, bundle, box label, and any related pieces.
Record:
- creator or writer, if known;
- recipient or original user;
- approximate or exact date;
- source and current owner;
- relationship to other items;
- physical condition;
- sharing and permission limits.
An envelope may establish the recipient, location, postmark, or sequence. A stain on a recipe card may be part of its use history. Do not separate context in the name of making a cleaner scan.
Step 2: Prepare a safe work area
Clear a table, remove food and drinks, and wash and dry your hands. The National Archives advises clean, lotion-free hands for paper because gloves can reduce dexterity; photographs and negatives have different handling needs.
Support the entire item when moving it. Never lift a brittle letter by one corner, flatten a curled sheet by force, or pull a card from an album when resistance suggests adhesive or a fragile hinge.
If mold is suspected, limit disturbance and keep the item away from unaffected materials. Do not brush, vacuum, spray, or test household treatments without appropriate guidance.
Step 3: Digitize without forcing the original
Use a flatbed scanner only when the complete item fits and can lie safely on the glass. The National Archives digitization guide recommends a copy stand and supports for bound books, and warns that scanner lids and automatic feeders can crush, crease, jam, or tear unsuitable originals.
Capture:
- the front and back;
- each panel of a folded item in reading order;
- the envelope or container;
- edges, seals, insertions, and annotations that provide context;
- a colour reference or ruler when accurate scale or colour is important.
Create a preservation-oriented master file and a smaller working copy. Do not sharpen, erase stains, replace faded words, or increase contrast on the only master. If you make an enhanced reading copy, label it as adjusted and keep the unadjusted capture.
Keep the original after digitization. Digital files can be deleted, corrupted, locked in an account, or separated from their metadata.
Step 4: Transcribe what a scan cannot convey alone
A transcription helps readers search, enlarge, translate, and understand difficult handwriting. It should accompany the image rather than silently replace it.
Use a clear transcription policy:
- preserve original spelling and punctuation when they are legible;
- place uncertain readings in brackets, such as
[Marion?]; - use
[illegible]rather than inventing a word; - mark missing or damaged text without filling it from context;
- note additions written by another hand;
- identify editorial expansions or explanations separately.
For a recipe, distinguish the original text from modern notes:
Original: “Flour enough to make a soft dough.”
Editor’s note: The card does not specify an amount; no standardized quantity was tested for this edition.
Do not claim that an old recipe has been tested, adapted, or made food-safe unless that work has actually occurred and is documented.
Step 5: Decide how to represent folds and layered pieces
Folds, envelopes, pasted scraps, and cards within cards can carry meaning. A flat crop may make a letter readable while hiding how it was opened and kept.
For the book, consider:
- one full-object image followed by readable detail images;
- a small sequence showing the opening order;
- a facsimile envelope or pocket holding a copy;
- a caption explaining that content continued beneath a flap;
- a transcription beside the image instead of enlarging every panel.
Do not repeatedly unfold a fragile original for demonstrations. Make one careful capture, then use the copy for layout and family review.
Step 6: Store originals in suitable enclosures
Choose an enclosure larger than the item so no edge projects beyond it. Store related letters with their envelopes while preventing abrasion, pressure, or transfer from unstable materials.
The National Archives storage guidance recommends acid-free paper enclosures and stable plastics such as polyester, polypropylene, or polyethylene. It also cautions against overstuffing albums and identifies non-adhesive corners as a safer mounting method.
Avoid:
- pressure-sensitive tape and self-stick laminating sheets;
- rubber bands, paper clips, and staples;
- PVC sleeves or unknown plastics;
- direct contact with newsprint or visibly acidic backing;
- an enclosure so tight that insertion abrades or bends the item;
- overfilled pockets that distort the book.
“Archival” is a marketing term unless the product identifies its materials and relevant test evidence. For photographs or mixed items, look for documented suitability such as the Photographic Activity Test where applicable.
Step 7: Mount a copy, not the only original
For a physical book, print a facsimile and mount it with non-adhesive corners or place it in a stable pocket or sleeve. If the item is thick, folded, or three-dimensional, do not force it into a page designed for flat photographs.
The Library of Congress scrapbook guidance recommends acid-free and lignin-free paper, stable plastic films, and non-adhesive methods such as suitable photo corners. It advises against self-adhesive tape, staples, and rubber bands.
Do not make a unique original carry the mechanical burden of a frequently handled scrapbook. Store it separately and add a source note telling future readers where it belongs.
Step 8: Review privacy, permission, and copyright
A handwritten item can reveal addresses, health information, finances, conflict, parentage, private relationships, or details about living people. Preservation does not require publication.
Ask:
- Who wrote the item, and who received it?
- Are either of them living?
- Does it discuss living third parties?
- Was it intended as private communication?
- Who owns the physical object?
- Who may own copyright in the words or image?
- Is the book private, widely distributed, or public online?
The U.S. Copyright Office explains that owning a physical letter or diary does not by itself transfer copyright in the writing. It makes the same distinction for family photographs: possession of a print may not include the right to reproduce or publish it. When the planned use extends beyond a private family book, seek permission or qualified advice rather than assuming age or inheritance resolves the issue.
Practical options include using a short permitted excerpt, summarizing without exposing private wording, redacting sensitive details in the access copy, restricting a section to particular relatives, or omitting the item entirely.
When not to publish an item
Keep an item in the private archive when:
- the writer or contributor has not agreed to the planned audience;
- it exposes a living person’s sensitive information;
- the context is too uncertain to present responsibly;
- the item could create a safety risk;
- copyright or ownership is disputed;
- a transcription cannot be made without guessing at consequential words;
- its significance depends on humiliating someone who cannot consent.
You can record that an item exists without reproducing it. For example: “A private 1982 letter documents the move; retained in the family archive and not reproduced.”
For uncertain names, places, or dates attached to an image, use the evidence levels in the guide to captioning old family photographs rather than turning a family recollection into an unqualified fact.
Step 9: Back up the digital representation
Save the master capture, access copy, transcription, metadata, and permission note together. Use consistent file names, and keep three copies on two storage types with one off site, following the 3-2-1 approach described in the National Archives digitization guidance.
Open sample files from backups and make sure another trusted person can understand the folder. A digital image without a name, source, or permission note can become as contextless as an unlabeled paper in a box.
Troubleshooting common problems
The ink is too faded to read
Capture the item under even, safe lighting and keep the unadjusted master. You may create a labeled contrast-adjusted access copy, but do not trace, darken, wet, or apply substances to the original.
A letter is still folded and feels brittle
Do not force it open. A paper conservator can advise on safe access and treatment. Preserve the visible exterior and provenance while you wait.
A recipe has grease stains or loose fragments
Support it on a clean surface, capture it without wiping, and house the fragments with clear relationships to the main item. Avoid household cleaners and tape repairs.
A relative wants the original glued into the book
Explain that a well-made facsimile preserves the visual and family meaning while allowing the original to remain protected and removable. Add a caption that identifies where the original is stored.
Frequently asked questions
Should I laminate old letters or recipe cards?
No. Lamination is difficult or impossible to reverse and can expose an original to heat, pressure, and adhesive. Use a suitable removable enclosure instead.
Can I unfold and flatten a creased document under heavy books?
Do not apply uncontrolled pressure to a brittle, torn, coated, or unknown paper. If a stable document opens easily, support it during imaging; otherwise seek preservation advice.
Is a scan enough to preserve the item?
No. A scan improves access and reduces handling, but it does not preserve every physical feature and it creates new digital-preservation work. Keep the original and back up the files.
May I correct spelling in a transcription?
Preserve the original wording in the transcription. Put clarifications or modernized wording in clearly labeled editorial notes.
Your next small step
Choose one stable handwritten item. Assign an ID, photograph it with its envelope or context, and write a one-sentence permission note. Stop after returning the original to its enclosure and backing up the images. You have preserved both the writing and the information needed to use it responsibly.