
Print File 46-6P Memory Book: A Small Photo-and-Story Binder
Build one small photo-and-story binder with six working copies, clear captions, a separate story leaf, and a real binder-fit check. Keep irreplaceable originals protected.
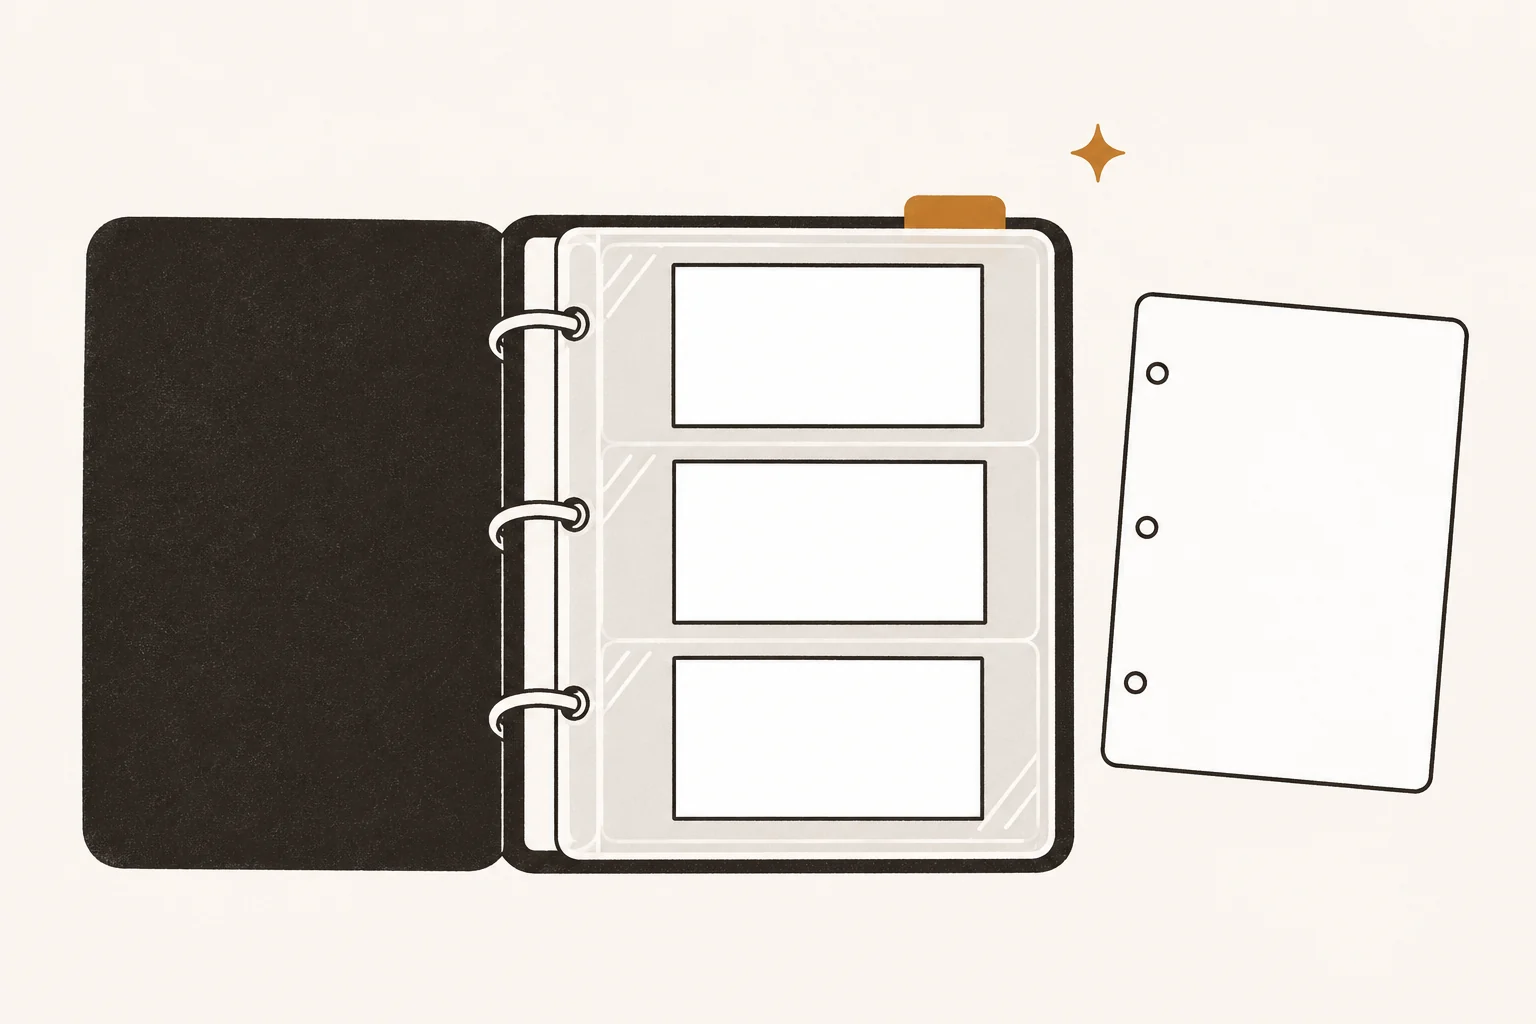
A Print File 46-6P memory book needs more than photo pockets: pair a small sequence of 4×6 photo copies with a separate caption-and-story sheet, then check that the pages turn freely in the actual binder. Begin with six photographs, not a boxful. You can stop after one complete story.
This format suits someone who wants to rearrange or add pages later. If you already have suitable photo pages, use them. A different enclosure or a printed book may fit mixed sizes better.
This is a source-backed planning guide. We have not physically tested this page-and-binder combination. Product specifications below come from Print File; the suggested six-photo project and records are our own illustrative approach.
What the 46-6P pages include
The manufacturer identifies the 25-pack as SKU 060-0630. Each sheet has three pockets for 4×6 prints. Its advertised six-photo capacity means two prints placed back to back in each pocket; it does not mean six separate pockets.
Print File specifies polypropylene without PVC, a passed Photographic Activity Test (PAT), and outside dimensions of 9¼ inches wide by 10 15/16 inches high. These are manufacturer specifications, not an independent preservation test by this publication. The pack contains pages; choose the binder separately.
The manufacturer lists several compatible binder families. Still check your exact binder, page revision, cover clearance and ring position rather than relying on a general “standard binder” label. A page that attaches can still project beyond a cover or turn awkwardly.
Our guide to archival scrapbook supplies explains material selection more broadly. This article handles the narrower job of connecting photographs, captions and a story in one usable binder.
Start with copies and one small theme
Choose a bounded subject: one summer visit, a familiar kitchen, a garden, or a person’s working day. Six photographs that belong together are enough. They do not have to summarize a whole life.
Use ordinary working copies for your first assembly and fit checks. A unique original with an inscription, fragile surface, curl or damage needs a separate handling decision. Do not flatten, trim, clean or force it to fit a pocket. Use the existing photograph preservation guide before handling originals with uncertain condition.
Record any useful information found on the reverse before arranging the copies. Write down which details are known, who supplied them, and what remains uncertain. A photograph’s back may carry more reliable information than anyone’s current recollection.
If choosing six feels too much, choose three. Leave the other pockets empty until another session. Empty space does not make the book unfinished in any important sense.
Gather the parts before filling pages
For this small project, set out:
- Six suitable 4×6 working copies, with digital copies of any useful backs.
- Two 46-6P sheets if you want one print in each pocket, or one sheet if appropriate copies will go back to back.
- The actual binder you intend to use.
- One or two separate caption-and-story leaves that fit the binding.
- A pencil, a simple source record, and a place to store originals separately.
Choose documented, suitable materials for any story leaves or additional enclosures. Keep adhesive away from original photographs. National Archives storage guidance favors stable materials and nonadhesive mounting and warns against overfilled albums. Good materials cannot compensate for a poor physical fit.
You do not need decorative paper, a cutting machine or a large new supply order to make this useful. If the planned components are not already available, confirm the exact pack, seller, delivered cost and return conditions before purchasing. This guide makes no current retail-price or delivery promise.
Give each photograph a short identifier
Use an identifier such as GARDEN-01 through GARDEN-06. Record it on the working-copy file record and caption sheet. Do not add a label to an original merely to complete this exercise.
A simple caption record can hold:
| Photo ID | What you can say | Evidence or uncertainty |
|---|---|---|
| GARDEN-01 | A person standing beside a rose bed | Name confirmed by the contributor; year unknown |
| GARDEN-02 | Preparing pots for spring planting | Contributor estimates early 1990s |
| GARDEN-03 | A handwritten plant list | Copy of the list; original kept in a separate folder |
These entries are invented examples, not a real family’s records. Replace them with the facts you have. “Year unknown” is useful information; a guessed date presented as certain is not.
Keep longer source and permission notes out of a cramped photo pocket. Our guides to captioning old family photographs and recording contributors and provenance cover those records in detail.
Make the story leaf work beside the photographs
Arrange the photographs in a sequence a reader can follow: establishing scene, activity, small detail. Then add a story leaf carrying the corresponding identifiers and one short memory.
For example, a heading might name the garden and the known period. Below it, a contributor-approved paragraph could explain a familiar routine. Keep the contributor’s credit and any uncertainty close enough that the reader does not mistake an attributed memory for an established fact.
Avoid placing essential captions only on the reverse of prints you plan to put back to back. Those backs will be hidden. Carry the relevant information onto the separate leaf, or choose one print per pocket when seeing the reverse matters.
Before copying a family contribution into the shared book, agree on the intended audience. A private original and a family-circulation copy can have different contents. Permission to contribute a story does not automatically settle every later sharing decision.
Test one page in the actual binder
Treat this as a check for your materials, not proof of lifelong preservation:
- Attach an empty page and your proposed story leaf. Close the binder gently. Check that both remain inside the covers.
- Put an ordinary copy into one pocket. Stop if it needs force, catches an edge, or visibly distorts the pocket.
- Turn the page slowly in both directions. Check the punched edge and clearance around the rings.
- If you intend back-to-back loading, try it with ordinary copies and check visibility and bulk.
- Close the lightly loaded binder again. Make sure the cover rests naturally without pressing down on the pages.
Stop at the first sign of strain. Do not punch new holes through a loaded page or alter an irreplaceable photograph to rescue a poor fit. Choose a better-sized enclosure or binder instead.
A successful check tells you this small assembly is usable now. It does not establish how many fully loaded sheets the binder can safely hold.
Legacy Memory Book may earn a commission if you buy through links on this page, at no extra cost to you. Recommendations are based on the stated criteria, reader fit, limitations, and preservation or privacy needs—not commission rate.
As an Amazon Associate I earn from qualifying purchases.
If these page dimensions, your actual binder and the 4×6 working-copy format fit your project, you can check the 46-6P 25-pack. This is the page pack, not a binder. Suitable pages you already own remain a reasonable choice; verify the exact pack and seller before ordering.
Check capacity without hiding the story
For six copies, two sheets used one photo per pocket keep the reverse of each print viewable. One sheet can accommodate six copies back to back, but that arrangement hides their backs. The better choice depends on what the reader needs to see.
Do not multiply the pack’s nominal photo count and use the result as a binder capacity. Story leaves, print thickness, extra enclosures and the binding all affect the finished object. Add small batches only while pages remain supported and turn easily.
Ask someone unfamiliar with the project to find one photo’s caption and identify who supplied its story. If they cannot, improve the identifiers or page order before adding more material. That check is about clarity, not judging the memories.
Leave a usable stopping point
Finish with a small locator sheet: the book’s theme, what the photo identifiers mean, where originals are kept, and where a trusted person can find digital copies. Keep private access instructions in an appropriately private place rather than printing passwords in the binder.
Use the family archive handoff-folder guide if the project needs a fuller record. For the completed binder, follow the site’s display and storage guidance. The National Archives recommends fitted storage, avoiding overstuffing, and keeping family papers away from damp, hot attics, leaks, food and water.
Your first result can be modest: one small photo sequence, readable captions, a credited story, and originals you can still find. More pages can wait.